There are tons of language learning apps out there, and Duolingo is one of the most popular (and free!) options. To get the most out of this app, I’ve put together these 8 tips for using Duolingo.
Duolingo Hebrew lessons build off of each other, they constantly recall vocabulary so you don’t forget old words as you learn new ones, and they’re short enough to complete during a commercial or a bathroom break ( 🤷🏾♀️ people take their phones everywhere). If you’re learning Hebrew and don’t have already have the Duolingo app, pause for a second and download it to your Apple or Android device.
I’ve used Duolingo for Hebrew for myself, my students, and for homeschooled students whose Hebrew learning I manage. Now that I’m seriously learning Spanish, I’m using Duolingo again, and finding ways to maximize its value so I’m getting the most out of the app. So it’s only right that I show you how to do the same!
It’s important to note that Duolingo alone won’t make you fluent in Hebrew – I don’t think there’s a single app that will – but it will definitely help you along the way, especially with the tips I’m going to give you on using Duolingo for language learning.
Here are 8 tips on how to get the most out of Duolingo for learning Hebrew or any other language.

Tip 1: Read the Tips (Lightbulb) before starting the lesson.
When you click on any unit, you’ll see a lightbulb icon (as of 10/24, my Duolingo app now shows this as a “Tips” button, but it’s the same thing). You’ll get some useful grammar explanations that the actual exercises themselves don’t provide.
Note: Neither the lightbulb or Tips option show up on Duolingo for Hebrew (maybe because they’re newer additions?), so the examples below are from Spanish.
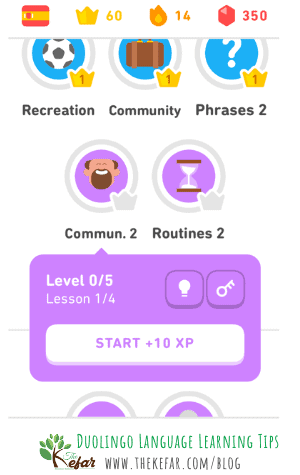
You might see this lightbulb, or you’ll see a button that says “Tips,” right above the “Start +10XP” button; they’re both the same.
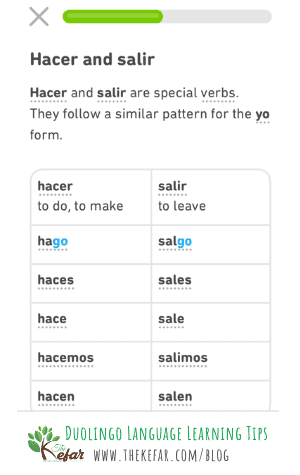
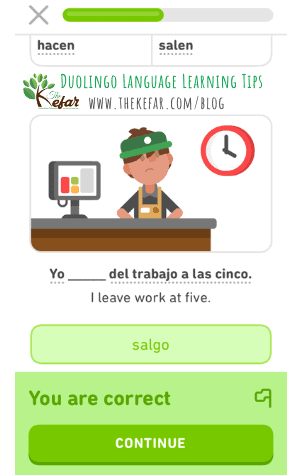
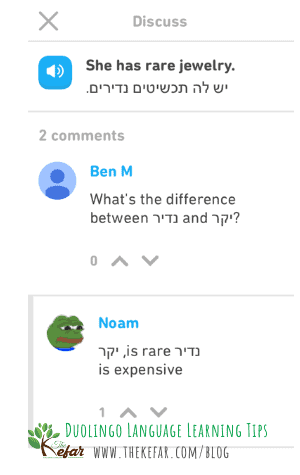
Tip 2: Use the comments when you don’t understand something, even if you’ve completed an exercise correctly.
* not a real statistic
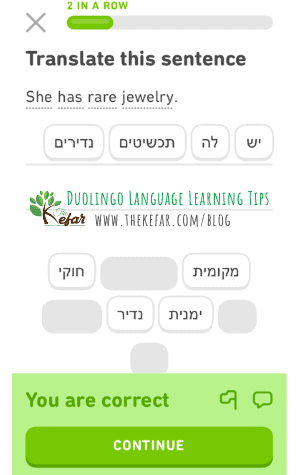
Tip 3: Repeat the Hebrew sentences and focus on accuracy FIRST.
Hebrew speakers speak quickly; actually, we tend to feel that speakers of languages we are learning speak at a rapid-fire pace. You may get the urge to try and speak as quickly as the Duolingo Hebrew speakers do, but don’t let speed get in the way of you pronouncing the words properly. There are a number of sounds in Hebrew that are foreign to native English speakers, so you want to focus on how you’re speaking, as opposed to how quickly. The speed will come with time, as you become more comfortable with Hebrew.

Tip 4: Translate the sentence aloud (preferred) or in your head without looking at the word bank.
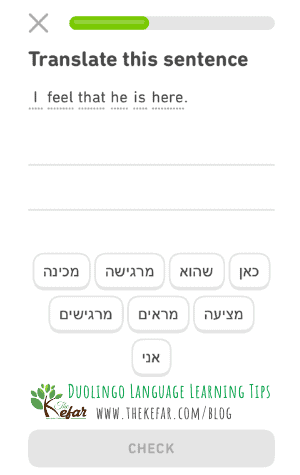
After the 1st or 2nd lesson in each Duolingo unit, challenge yourself to translate the Hebrew into English, or English into Hebrew, without looking at the word bank. Once you think you’ve gotten it – or if you’re stuck – then you can use the word bank to complete the translation. It’s a great way to quickly quiz yourself, and the word bank will help confirm whether you’re on track, if you forgot a word or two, or if you need to spend some extra time with that lesson.
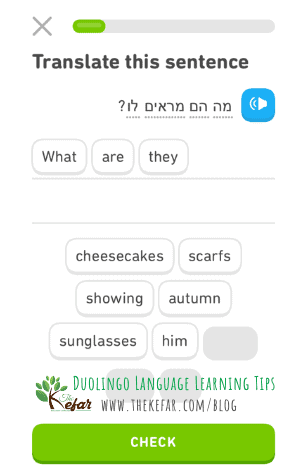
Tip 5: As you select English translations from the word bank, translate them back into Hebrew.
Select “what” as I say “MAH” > select “are” and “they” as I say HEIM > select “showing” as I say MARIM” > select “him” as I say LO.
This can help speed up your language processing time, so that you’re able to better comprehend Hebrew that you hear, and more quickly produce your own Hebrew speech. It can also help you understand grammar, such as realizing that “are” in Hebrew is implied (using this example).
Tip 6: Listen to the Hebrew sentences AND repeat them.
When you’re given a Hebrew sentence to translate, listen to it first and try to repeat it before reading it. If you don’t catch it all the first time around, listen and try to repeat it again. Then, of course, you can read the sentence.
Learning to listen is a MAJOR skill; you can practice speaking until you’re blue in the face, but if you can’t listen and comprehend what someone is saying to you, you’ll never get off the conversation struggle bus. I’m not kidding. The first time I went to Israel, it took me a week to adjust to how quickly the Hebrew was spoken – and I’ve been speaking Hebrew my whole life.
The repetition will help you get better at pronouncing Hebrew words. Even if you can’t mimic them all, do your best and get as close as you can.

Tip 7: Record responses to practice your pronunciation.
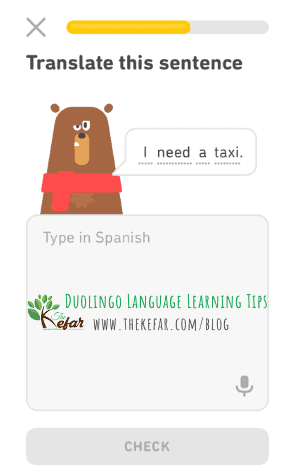
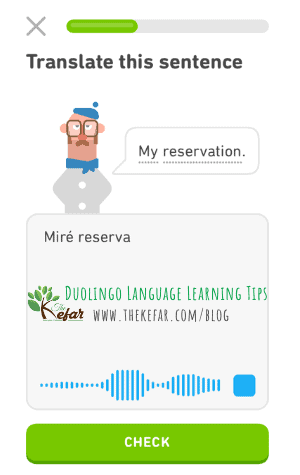
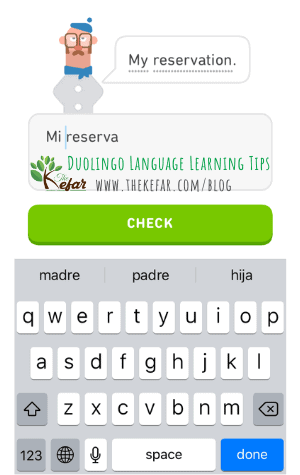
Tip 8: Add your language’s keyboard to your phone.
This is a must for Hebrew, since the letters are completely different than English letters. If you’re studying another language (like I am, with Spanish), you should download that keyboard too, even if it uses the Latin alphabet. Besides making it easier to add those letters that we don’t use in English (like n with the tilde – ñ), autocorrect for that language will kick in, helping you learn which words have accent marks, and where.
If you want to supplement your Duolingo activities with live lessons, you can schedule an online Hebrew lesson with me.


Thank you. Thank you. Thank you.
I learn so much from your teachings. I study Duolingo. One day when I have more money, I can study with you.
I will practice what you suggested.
You are amazing.
Do you know if it’s possible to record the voices in the exercises? ( I’m doing the course on a desktop PC. ) I’d like to be able to hear the sentences spoken while I’m away from my PC. I don’t have a smart phone…
Also, is it possible to redo sections we have already completed (other than the level 5 restore exercises)?
Thank you so much.